

Leaky ducts waste up to 30% of the heating or cooling you pay for. Fixing those gaps can shave off bills and make every room feel just right. Below is a step‑by‑step guide that gets your ducts sealed right now.
Step 1: Turn Off the HVAC System and Locate Accessible Leaks
First, shut off power to your furnace or heat pump. Flip the breaker or pull the thermostat fuse so the blower won’t spin while you work. This keeps you safe and stops air from blowing out of any fresh holes you might create.
Next, walk around the house and look for obvious gaps. Common places are at joints where metal or flexible ducts meet, around vent covers, and where the ducts pass through walls or ceilings. Use a flashlight and a thin piece of tissue; if air moves the paper, you’ve found a leak.
Mark each spot with a piece of tape so you don’t lose track. In larger homes, especially in the Knoxville area where temperature swings are big, you’ll likely find leaks near the attic and basement. Those are the ones that hurt your bill the most.
When you’ve got a list, you can decide whether a DIY fix will work or if you need a pro. For tricky runs that are hidden behind drywall, consider calling Jack Frost Heating & Air Conditioning, Inc. Their Air Duct Sealing Service handles the hard‑to‑reach sections while you take care of the easy ones.
We often see homeowners miss the little gaps around register collars. Those tiny openings can let conditioned air escape before it even reaches a room.
Top 10 signs of an airflow problem can help you double‑check that you’ve caught every leak.
Step 2: Clean and Prepare the Duct Surfaces
Before you seal anything, the surfaces must be clean. Dust, lint, and old foil tape will stop a new seal from sticking.
Remove any debris from inside the ducts using suitable cleaning equipment. Run the equipment for a few minutes on each accessible section. If you spot grime on metal, wipe it with a damp rag and let it dry.
For stubborn oil or rust, gently clean the affected metal surfaces. Don’t over‑scrub metal‑flex joints, you don’t want to thin the material.
Once the ducts are dry, lightly sand any rough spots. This gives the sealant a better bite. A smooth surface also helps foil‑backed tape adhere without bubbles.
When the ducts are clean, you’re ready to choose a sealing material. The right choice depends on cost, durability, and how much leak reduction you need.
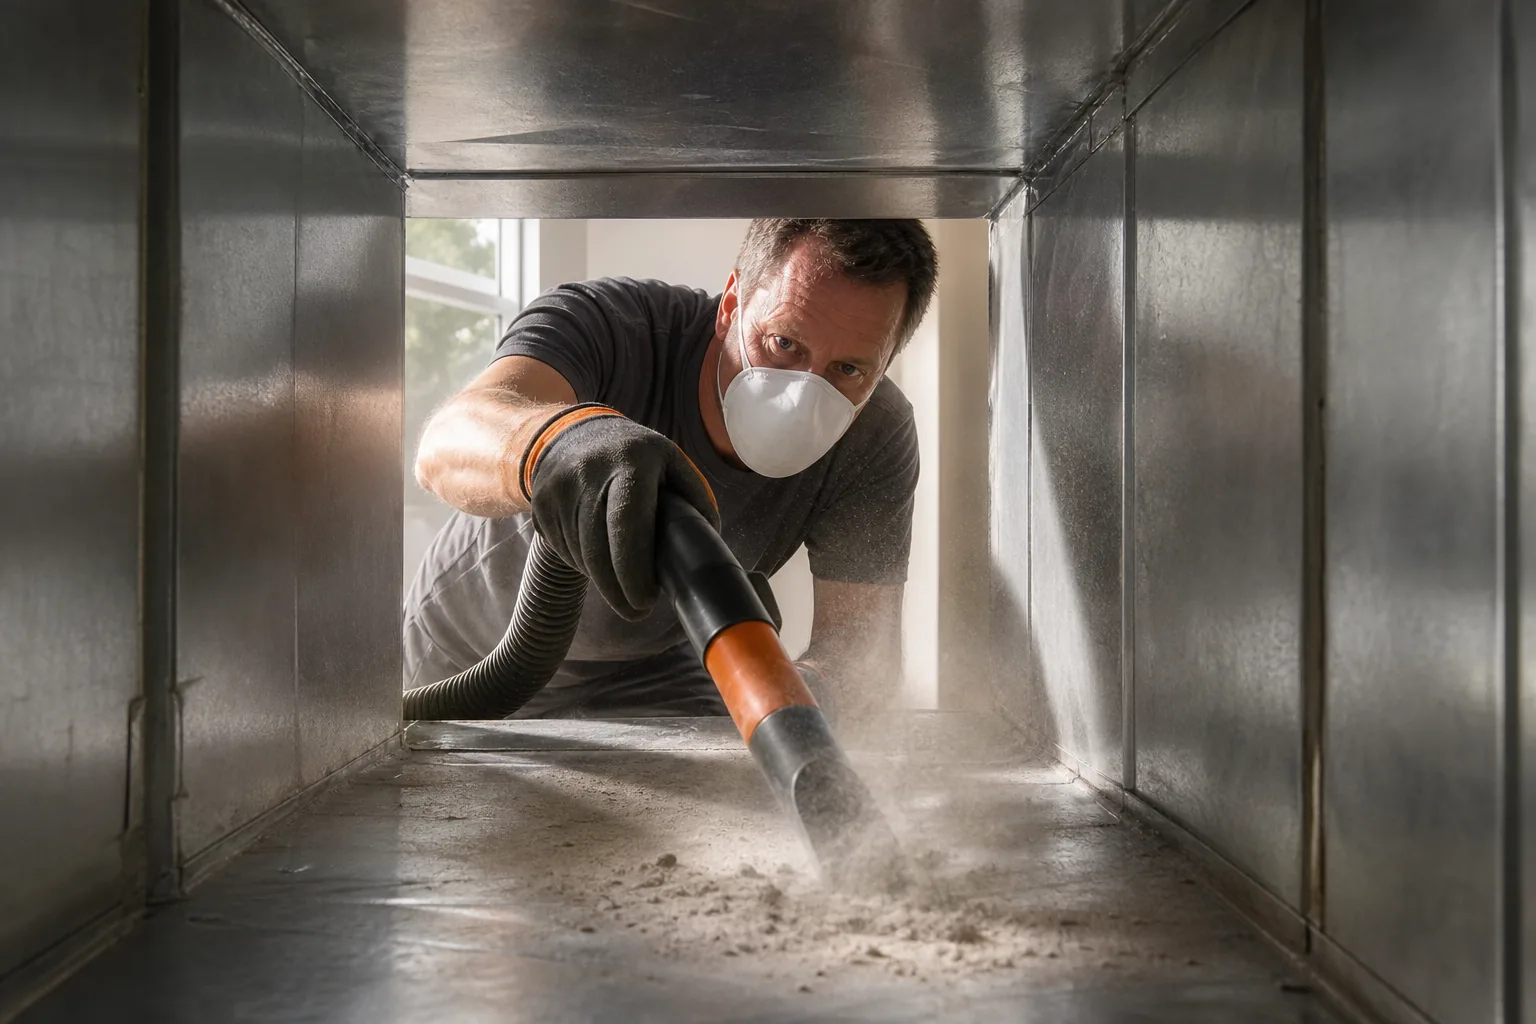
Why your return air system is the hidden key to HVAC efficiency explains why a clean duct network matters for overall system performance.
Step 3: Seal Duct Joints with Mastic or Approved Foil Tape
Now comes the sealing. Two DIY favorites are water-based air duct sealant (mastic) and foil‑backed HVAC tape. Both cost about $0.50‑$1.50 per square foot and cut leaks by 40‑50% on average.
Mastic is a thick, paint‑like sealant you brush on. It works well on metal, flexible, and even PVC ducts. After brushing a thin layer, let it cure for 24 hours before you run the system.
Foil‑backed tape is easier for quick jobs. Wrap the tape tightly around each joint, press firmly, and overlap the edges by about an inch. Make sure the tape is rated for HVAC use, as unapproved tape may fail under temperature changes.
| Material | Cost per sq ft | Leak reduction % | Application |
|---|---|---|---|
| Water-based air duct sealant (mastic) | $0.50‑$1.50 | 40‑50 | Brush‑on |
| Foil‑backed HVAC tape | $0.50‑$1.50 | 40‑50 | Wrap‑and‑press |
| Aerosol sealant (fan‑spray) | Pricing varies | 70‑90 | Spray‑in via nozzle |
For the best results, start at the supply side of the system and work toward the return. That way you seal the most pressure‑heavy joints first.
If a joint is too large for tape, apply a bead of mastic before it dries. This method adds strength without a big cost increase.
When you finish, run your hand along each sealed joint. You shouldn’t feel any gaps or see any tape lift.
Step 4: Seal Register Connections, Return Openings, and Insulate Exposed Ducts
Registers are the most visible part of the duct system, yet they’re often overlooked. Pull each register out, check the metal collar for gaps, and apply a thin bead of mastic around the edge before reinstalling.
Return openings that feed air back to the furnace should have a tight fit. If you see a crack, seal it the same way you did with the main joints.
Any duct that runs through an unconditioned space, like an attic or crawl space, needs extra insulation. Adding a layer of insulation can help reduce heat loss.
Wrap the duct with the insulation, then seal the seams with the same HVAC‑grade tape you used earlier. This double barrier keeps both air and heat from escaping.
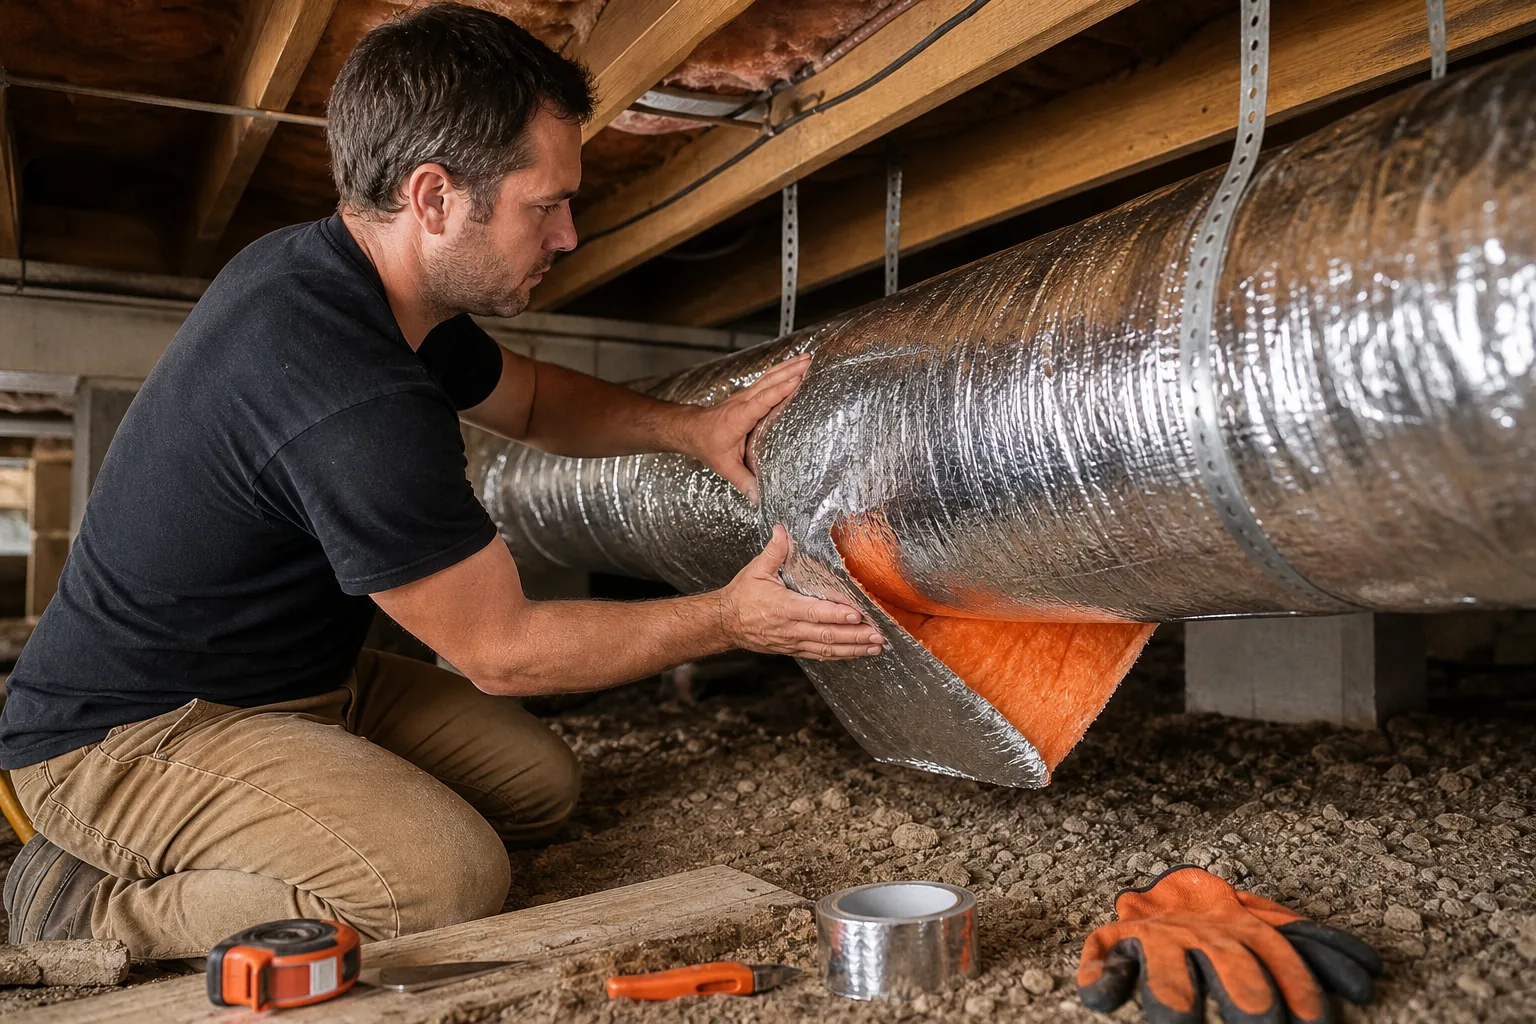
For a deeper dive on why insulation matters, see a guide on air sealing and insulation. It explains how sealing the building envelope works together with duct insulation to cut energy use.
After you’ve sealed everything, give the ducts a quick visual inspection. No loose tape, no exposed mastic, and the insulation should lie flat against the metal.
Remember, if any duct sections are hidden behind walls or you lack the tools to reach them, it’s wise to call a pro.
Step 5: Restart the System, Check Airflow, and Know When to Call a Professional
Turn the breaker back on and set your thermostat to a comfortable temperature. Let the system run for a few minutes while you walk through each room.
Feel the airflow at each vent. It should be steady and similar in strength across the house. If a room feels weak, double‑check the register seal and make sure the damper isn’t closed.
Listen for unusual noises. A whistling sound can mean a seal has come loose or a duct is still leaking air.
If you notice persistent cold spots, uneven temperatures, or a sudden spike in your energy bill, it’s time to bring in Jack Frost Heating & Air Conditioning, Inc. Their technicians can run a blower‑door test, locate hidden leaks, and finish the job with professional‑grade sealants.
Financing options may be available for larger jobs, and the company can also help you apply for any local rebates that offset the cost of duct sealing and insulation.
When you finish the DIY steps, you’ll likely see a noticeable drop in your utility readings within a month. That’s the payoff of a tighter duct system.
9 home energy audit options to boost efficiency can help you identify any other upgrades that pair well with duct sealing.
FAQ: Sealing Air Ducts for Better Energy Efficiency
How much can I expect to save on energy bills after sealing my ducts?
Homeowners may see lower heating and cooling costs, depending on the size of the leak and the climate zone. In East Tennessee, the savings often lean toward the higher end because the seasonal swings are large.
Do I need to replace old ductwork before sealing it?
Not necessarily. If the ducts are structurally sound, sealing is enough. Replace only sections that are corroded, torn, or severely collapsed; otherwise, a good seal restores performance.
Can I use an unsuitable general-purpose tape instead of foil‑backed HVAC tape?
No. An unsuitable general-purpose tape can lose adhesion when temperatures change, leading to future leaks. Foil‑backed HVAC tape is designed for the temperature range of heating and cooling systems.
Is aerosol sealant safe for DIY use?
Yes, as long as you follow the manufacturer’s ventilation guidelines and wear a mask. It provides the highest leak‑reduction numbers (70‑90%).
Conclusion
Sealing air ducts is a quick win for energy efficiency. Start with the DIY steps above, and call Jack Frost Heating & Air Conditioning, Inc. if you hit hidden sections or need a professional finish. Your next move: gather your tools, turn off the system, and begin sealing those leaks today.